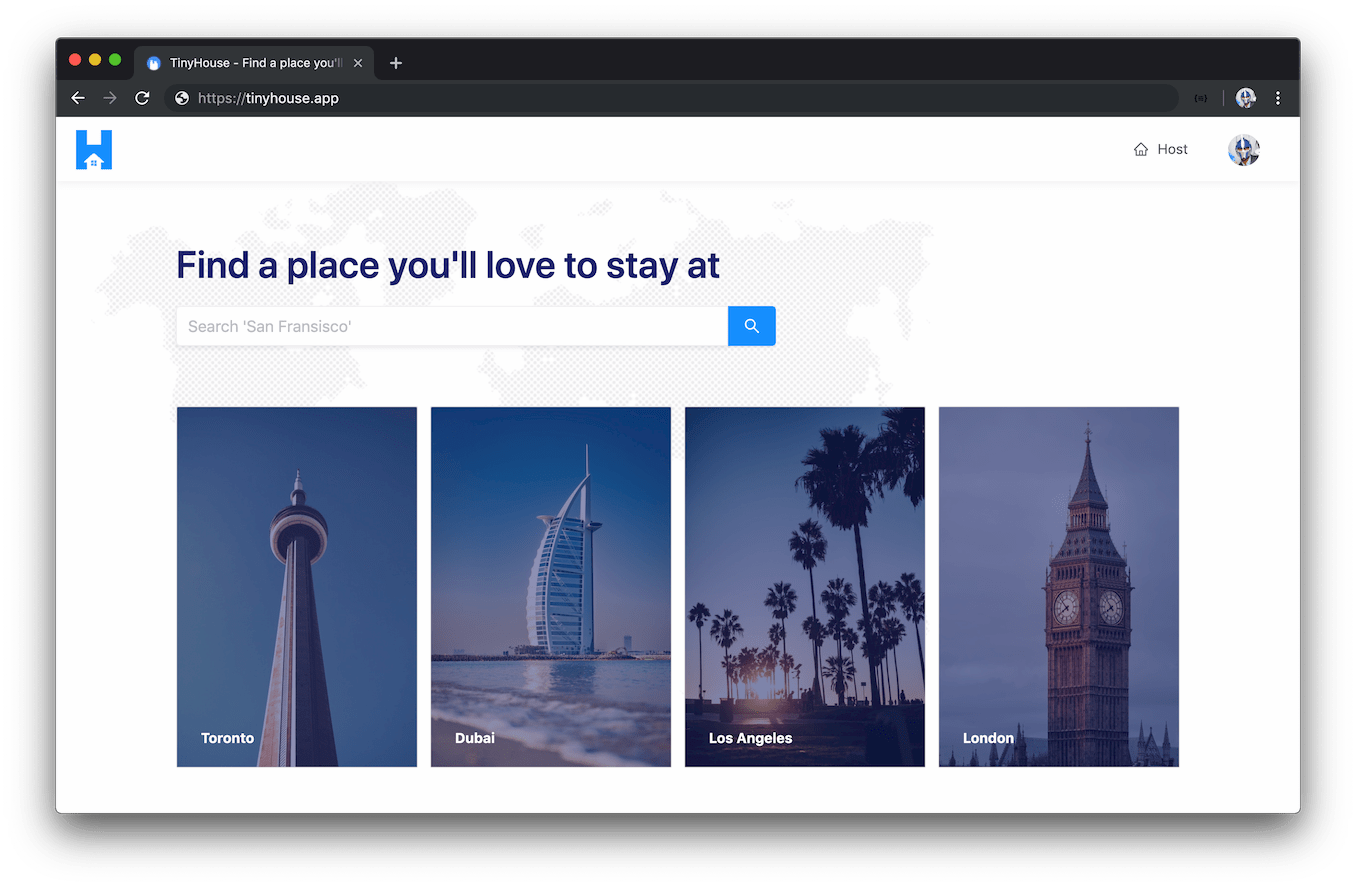
On Feb 2020, my friend (Jing) and I launched a web development course called TinyHouse on Newline. The course took us about a year of work to complete (alongside our day jobs) and was our first attempt in producing an online web development video course.
When getting started, we perused through many different sites and blogs to get an idea of what people would recommend, the tools they’ve used, and their journey in producing an online course. Since I found a lot of help from this, I thought it would be worth creating this blog post as a summary of things we did to get the course launched.
What is this course?
TinyHouse is a web development course focused on teaching a suite of different technologies (React, Node, TypeScript, GraphQL, etc.) to build a fully functioning rental marketplace app (called TinyHouse). The course is around 30 hours of video content.
One of the main aspects of this course was to have students not focus on one specific technology but instead traverse through many different topics including but not limited to client-server interaction, preparing a GraphQL API, static typed code with TypeScript, non-relational and relational databases, deployment, etc.
The course material we presented to students consisted of:
- Screencast videos.
- A detailed manuscript for every video lesson.
- Source code.
- and supplementary learning material like multiple-choice questions, challenge projects, and cheat sheets.
We’ll go through and talk about each of the above points but before that, we’ll first discuss how we went about structuring and preparing the course.
If you’re interested in jumping around the different points covered in this blog ⬇️
Structuring the course
There were three steps we took to structure and outline the course before we begin to record anything.
- We outlined how we wanted to build the app.
- We built the app in its entirety.
- We outlined how we wanted to structure the course material.
Outlining the app
We spent a short amount of time (~ 2 weeks) going through a technical deep dive to understand how we wanted to build the app. Some of the things we talked about were what technologies we wanted to use, the features we wanted in the app, and how we wanted to structure all the code we were to write. Once we had a very basic understanding of what we planned to do, we moved onto the next step and started building the app.
If you’re interested, you can check some of the (rough) documentation we prepared to outline the TinyHouse application.
Building the app
We then spent the next 2 or so months building the app. We moved fairly quickly in the actual build process but attempted to stay as critical as we can with our code to ensure we weren’t doing anything that was incorrect or could be frowned upon. In the beginning, Jing and I spent most of our time pair programming which helped quite a bit. I played devil’s advocate for almost everything we did much to Jing’s dismay but it did help push us in the right direction at times.
An interesting observation that came about was how Jing and I differed in opinion when building things. To achieve something, I would usually opt to find the most publicly known/popular package right away while Jing would always prefer taking a barebones approach and look to build small utilities from scratch that can do the same. This was great since we usually met in the middle and would often do both which helped in what we wanted to teach (e.g. we’ll build our own custom Hooks to interact with our GraphQL API before moving towards a more robust tool that does exactly that).
It was at this stage where we trimmed a lot of the additional features we wanted to have in the app and instead focused on building the core functionality which are:
- Users can log-in with a third party provider (Google).
- Users can connect with a payment provider (Stripe) to receive funds.
- Users can create new listings.
- Users can search for listings made by other users from around the world.
- Users can book listings from other users.
- Users can view a history of the listings they’ve created, the listings they’ve booked, and any income they’ve made from the app.
If you’re interested, you can see the app we built at tinyhouse.app.
Outlining the structure of the course
The last big piece in preparing an outline was how we wanted to prepare the structure of the course. We took the entire app we built and started from the beginning to see how we can break everything down to modules (i.e. chapters) and individual lessons.
We wanted to take the approach to begin the course with an empty folder and assume the student would have no background in any of the technologies we cover. This brought a slight disconnect since we wanted to take a gradual approach in teaching every technology we intended to use while focusing on actually building the app and its features. After a period of discussion, we realized it would be best if we broke the course down into two parts.
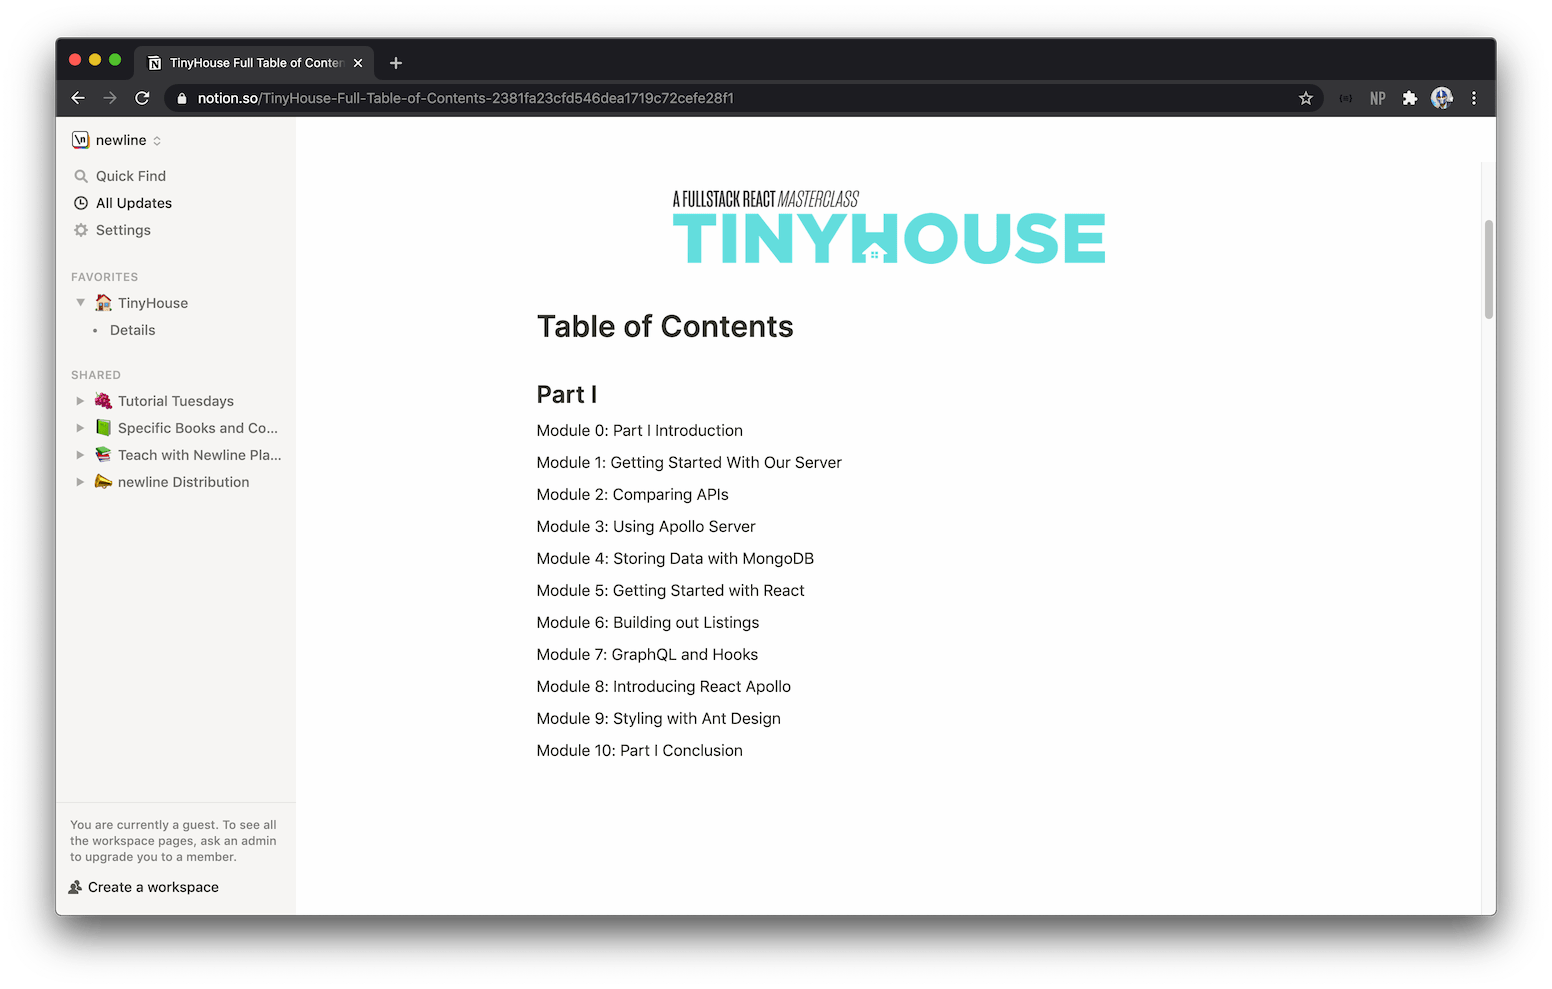
- Part I: The beginner track where we introduce all the different tools we’ll need to build the TinyHouse application (~ 8hrs in content).
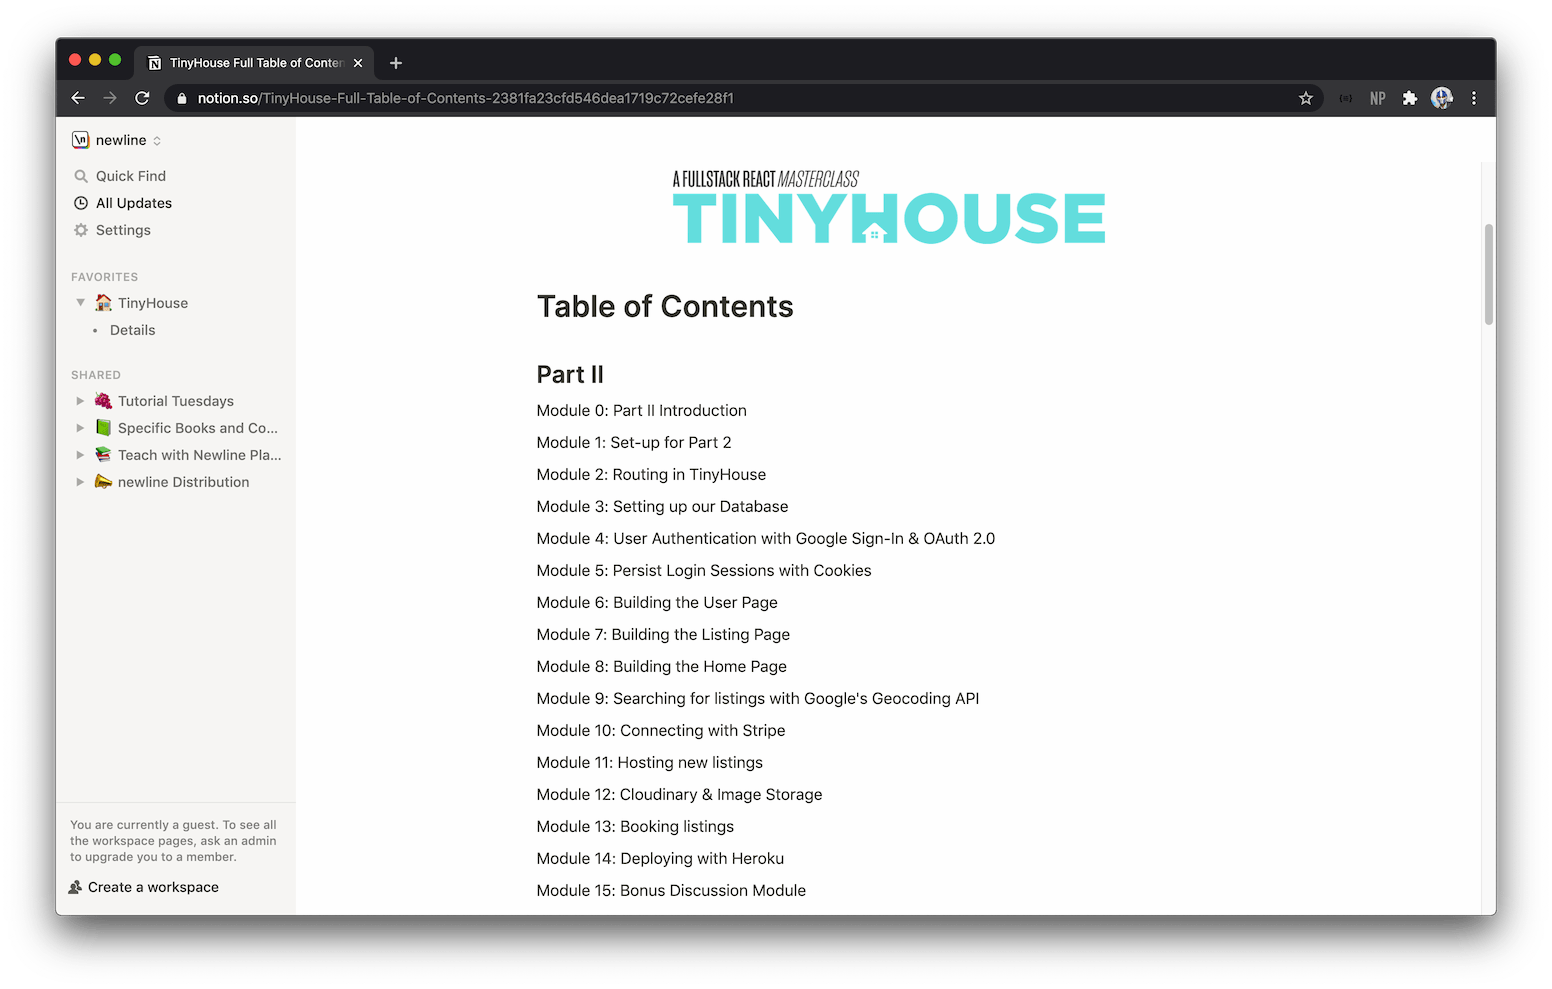
- Part II: The intermediate track that continues from Part I and focuses on building the actual TinyHouse home sharing application (~ 20hrs in content).
This separation made things a lot clearer by allowing us to portray a different aspect of how we wanted to prepare modules/lessons for each part of the course. For Part I of the course, our topics encompassed introducing important technologies one-by-one and installing these technologies in the boilerplate we build.
While in Part II, we were able to structure the outline of the course to focus on building features of the TinyHouse app.
By the time we finished outlining the course, we broke the entire app down and prepared code samples for every lesson as best as we could. Our goal was to keep each lesson within 5 - 10 minutes of video material length however we found that on average, a video length in the course would be around 15 min.
If you’re interested, you can check out the detailed syllabus of the TinyHouse course.
Screencast videos
The screencast videos of the course (alongside the accompanying manuscript) represent the majority of the course in terms of the effort we put in as well as the material we share with students.
If you’ve recorded screencast videos before whether for tutorials or for something else, you may have some concrete steps that you follow. This course was our very first time recording screencast videos so there were a few things we had to get accustomed to.
Preparing the script
Once we had an outline prepared with all the different modules/lessons, we started to record lessons from the very beginning. The first step we would take is write a script of what we would say in the lesson which would be fairly detailed and contain the images and code samples that represent what we’ll be doing in the lesson.
We used Notion to keep track of all our written scripts + notes.
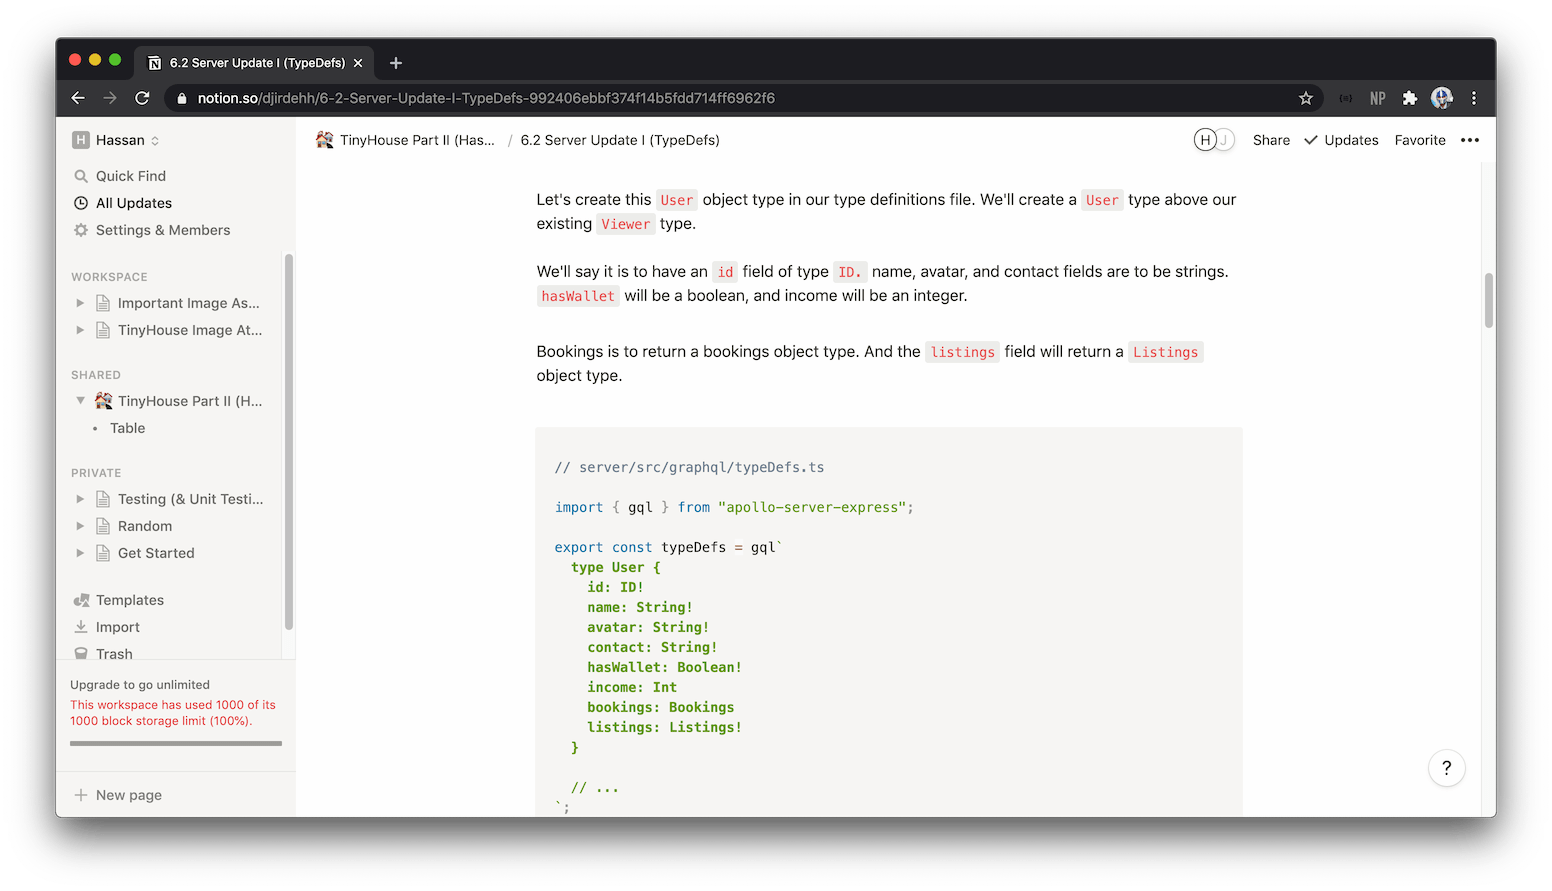
Preparing a script before recording was incredibly helpful for us especially in the beginning. When I attempted to record without having a script prepared beforehand, I would pause and slip-up multiple times. With the script, we had a gameplan of where we wanted to go in the lesson before we hit record. When I was first getting started, I would record myself just reading the script before recording the video portion and mashing them together. Though this is a lot more time consuming, it did help me get started in the beginning.
Preparing a semi-detailed script before we recorded the lesson also played a big help in having some documentation already prepared before we moved to write the course manuscript.
Tools used 🔧
- Notion for writing all our lesson scripts.
Recording the video
Once we had a good script prepared for a lesson, we would then move towards recording the lesson video.
There are two formats for how we prepared our screen for recording. In some portions of the course, we would have our code editor take 2/3rds of the screen real estate while leaving 1/3rd to be the browser or terminal.
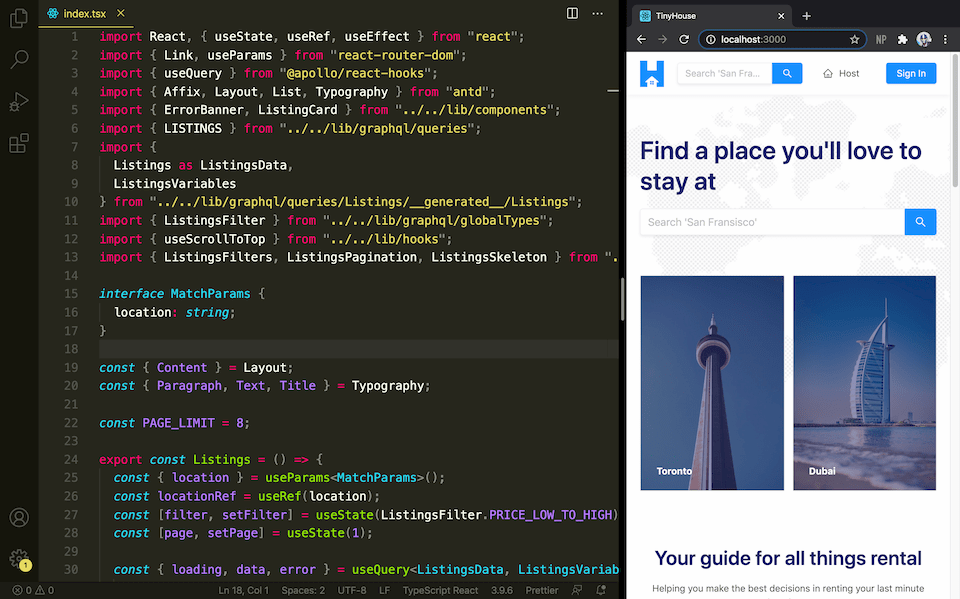
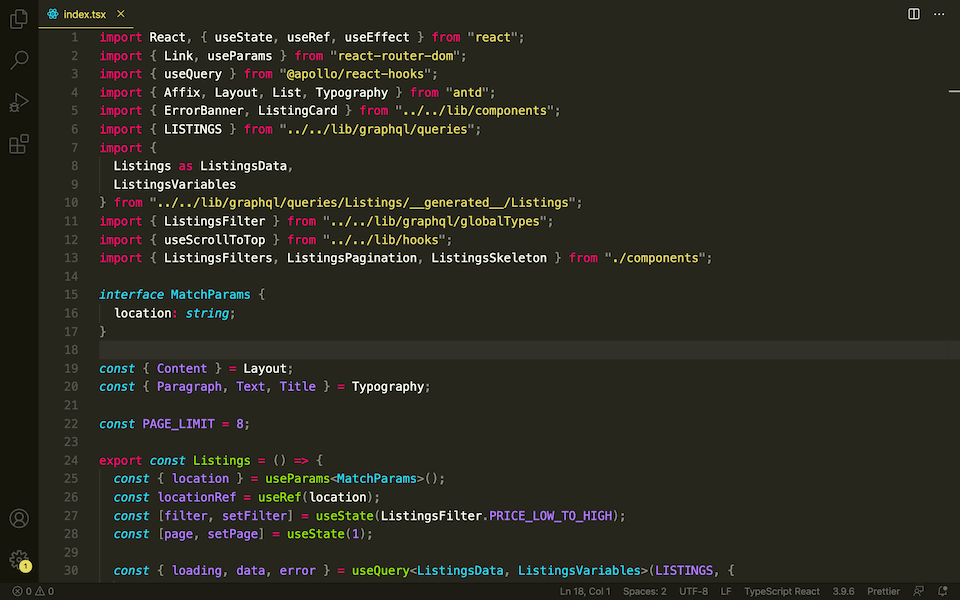
In other areas of the course, we would have the code editor take the whole screen and switch between different windows when needed.
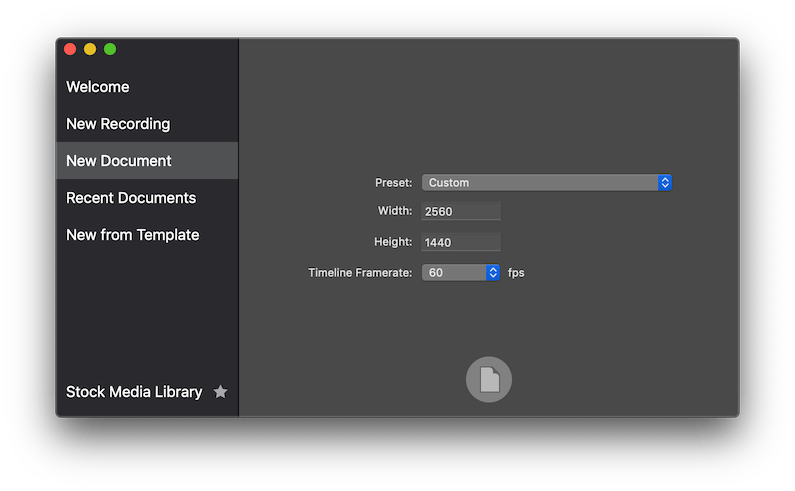
We recorded all our screencast videos in 720p resolution (2560 x 1440 or 1280 x 720). To achieve this, we would change our monitor’s resolution to as close as we can to 720p (with my 13 inch Mac, this was 2560 x 1600) and when beginning the screen recording process, we would make sure that the recording dimensions are set to 2560 pixels x 1440 pixels.
We used Screenflow to record all our screencast videos.
We used VSCode as our code editor due to it being the editor we’re most familiar with. Some of the things we had in our code editor environment were:
- The Prettier extension to help enforce a consistent style throughout our code.
- The Monokai Pro extension installed to provide a consistent editor/color scheme for all our code.
- Some additional setting configurations such as:
- A large editor font when screen recording.
- Some default settings (like
wordBasedSuggestions,quickSuggestions, etc.) disabled to avoid any distractions when recording.
When recording a lesson, one thing that greatly helped us was to record short pieces of information one at a time. If, for example, a lesson was 10 minutes in length, we would record 1 - 3 minutes, stop, then begin from where we left off and continue recording another small piece. This was very helpful in allowing us to condense each piece of recording without being overly concerned with messing up somewhere. If at some point, the recording went the wrong way, we would delete the very short clip and repeat it.
Once we had all these small clips prepared, we would make whatever edits we wanted to make in the screen recording software we were using - Screenflow.
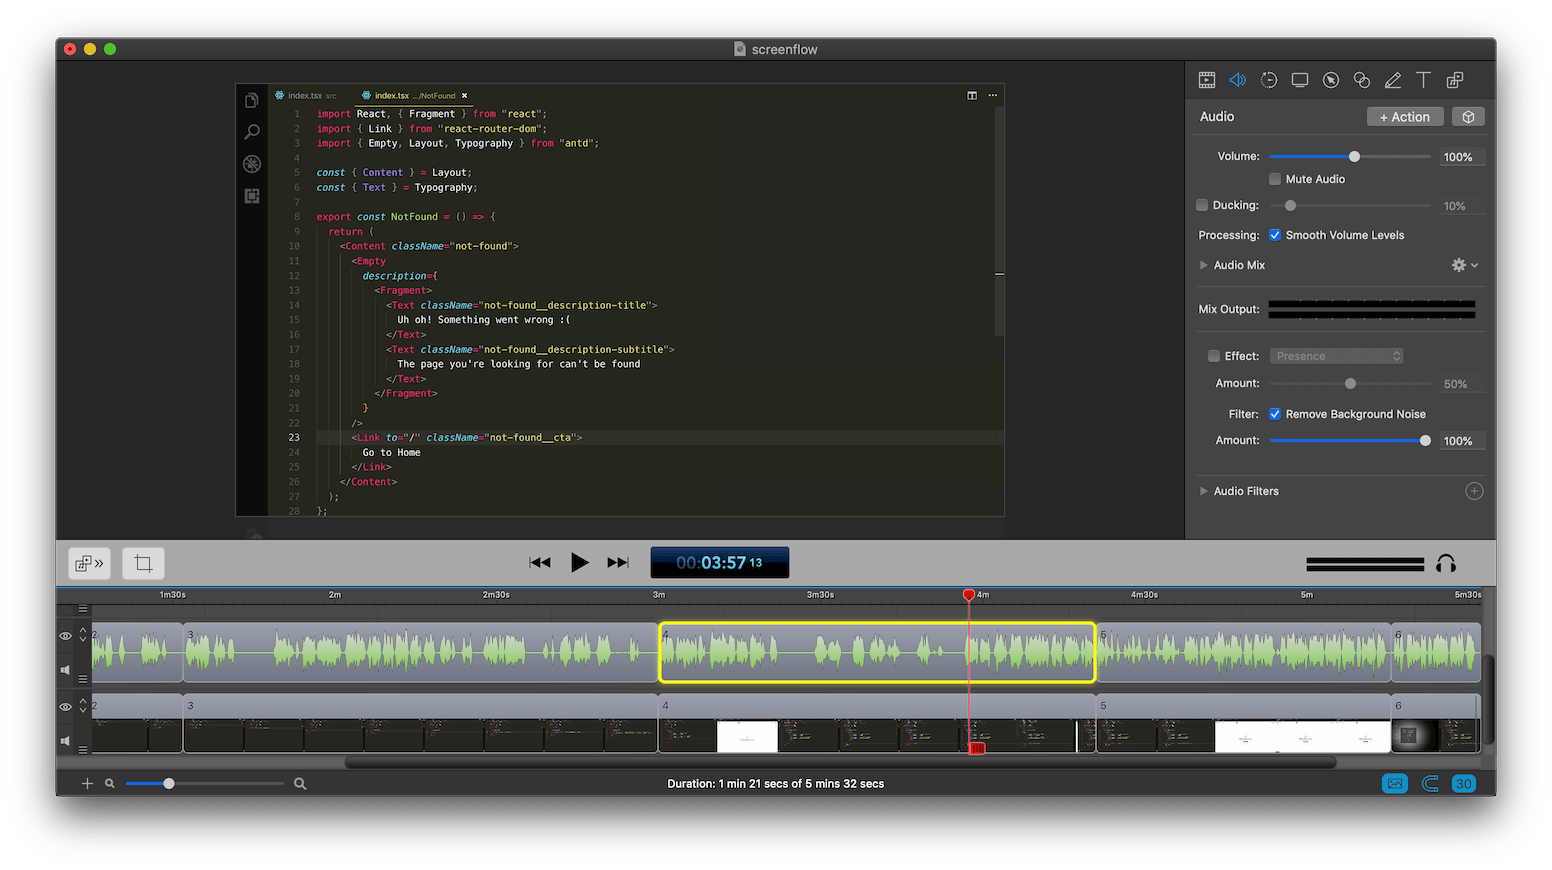
Screenflow isn’t the most advanced tool for editing video/audio but since the edits we were making were always minor and the average video length being fairly small (~ 15 min), Screenflow was a great tool for us to use.
Tools used 🔧
- Mac as the working machine.
- Screenflow for all screencast recording/editing.
- VSCode as our code editor.
Recording the audio
Good quality audio plays an especially important role when recording screencast videos. Some of the things we wanted to ensure was that the audio in the course:
- Would be crisp and clear.
- Wouldn’t capture a significant amount of background noise (e.g. mouse clicks, keyboard hits, etc.).
After trying a few different microphones, we resorted to using the Shure SM7B vocal microphone. Though a little pricey, the Shure SM7B is a great microphone. I was blown away with how good my speech was being captured without it capturing a whole lot of background noise.
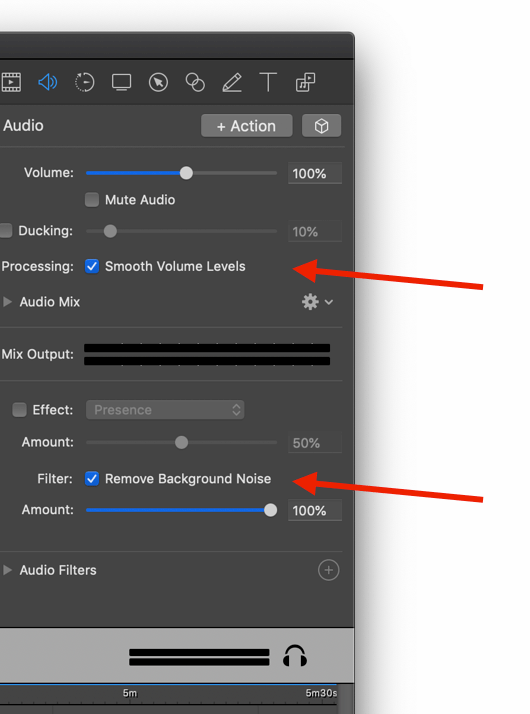
For additional audio processing, we selected options available to us to Smooth Volume Levels and Remove Background Noise.
🙇🏾♂️ Shoutouts to Nate in helping prepare the tools we needed for our audio.
Tools used 🔧
- Shure SM7B to record speech.
- Cloud Microphones A-B Box to improve audio gain.
- MixPre-6 II USB audio interface to have audio go from mic to computer.
- Neewer Tripod Boom Floor Microphone Stand to act as a microphone stand.
In-person videos
In the introduction for every module (i.e. chapter) in the course, Jing and I recorded short 1 - 3 min videos of ourselves introducing the module and giving a quick summary of the lessons within the module. These introductions helped break the monotony of continuous screencast videos by having the students see us communicate and speak with them directly before they begin working on a module.
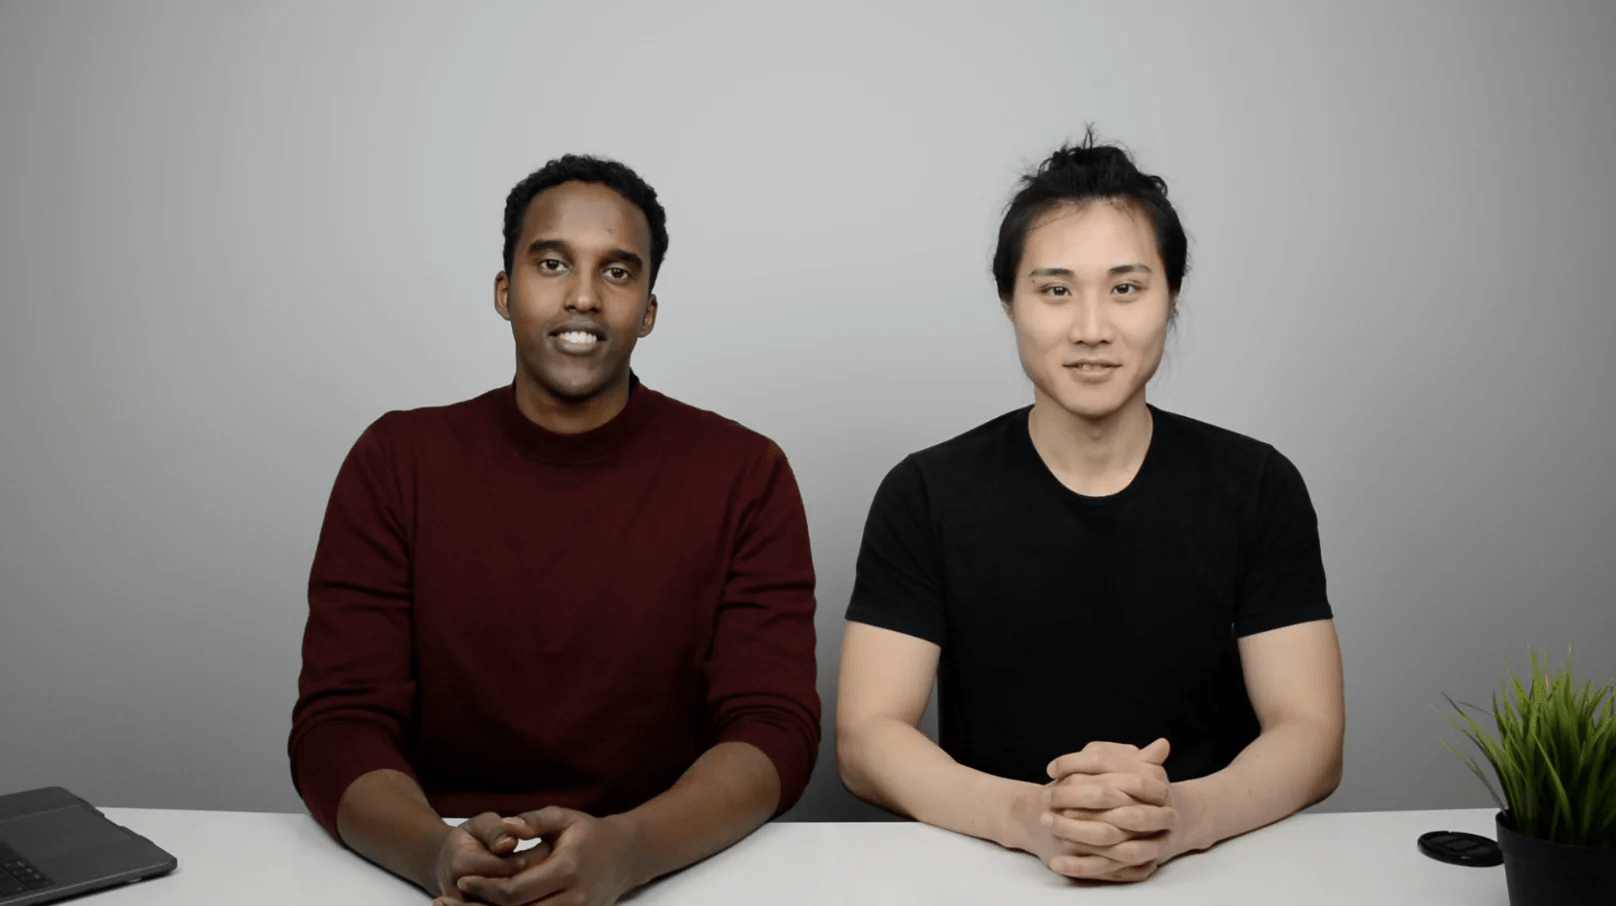
Since these videos were short, Jing and I were able to meet and record most of these introductory videos within a few weekends. However, we spent a decent amount of time making sure that the in-person videos we recorded were clear and well-lit. Never having done this before, I had (and still have) very little knowledge around setting up a good home studio set-up.
Jing has a pretty great camera (Nikon D7100) so for our first attempt, we recorded ourselves in a corner of Jing’s condo, used a Blue Yeti mic (positioned out of frame) to record our audio, and placed two Box lights in front of us. We paid no attention to anything else and this was our first video attempt ⬇.
Though not terrible, there was some room for improvement. Here are some of the things we did to make our in-person videos better:
- Use the Shure SM7B microphone and place it a lot closer to us while still having it remain out of frame.
- Move forward closer to the camera and further away from the wall.
- Increase the ISO sensitivity on the camera.
- Set a white balance to better reflect the color white in the picture.
- Position the box lights to be closer to us and raised higher to minimize/remove wall shadows.
- Place a few artificial plants slightly out of focus for some color.
- Drop our glasses to avoid the glare.
Here’s the same video we recorded again with the changes we made ⬇.
A lot better!
Tools used 🔧
- Nikon D7100 to record video.
- Shure SM7B to record speech.
- MOUNTDOG Box lights for lighting.
- Ikea artificial plants for some color.
Lesson manuscript
We launched our course on the Newline platform and with every lesson video a user can watch, we wanted a detailed transcript of the lesson presented to the student for them to read if interested.
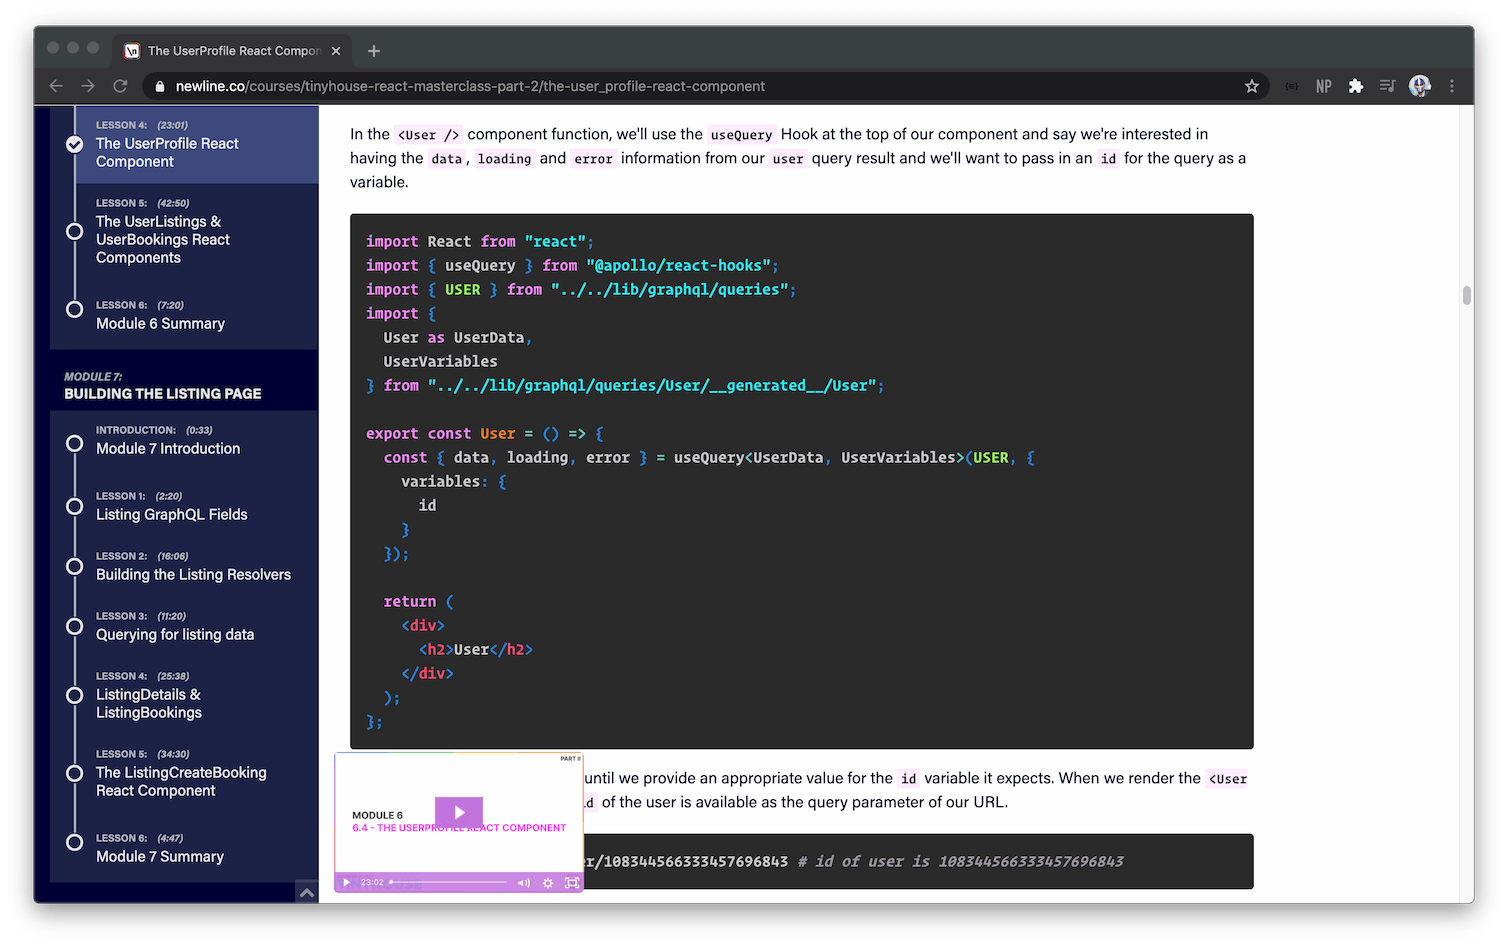
The manuscript we wanted to provide wasn’t just a transcript of what was said in the screencast videos but instead would consist of code breakdown/snippets, compiled images/graphics, links to resources mentioned in the lesson, and any other additional information. We spent a lot of time preparing the manuscript for every lesson since we wanted students to be able to go through the entire course with the manuscript alone if they wanted to. Some students have expressed how helpful this was which makes the work we put in here well worth it.
To help have the lesson manuscript prepared, we used the initial notes we wrote for each lesson script alongside autogenerated transcripts with the help of the Descript software. Once we had this rough documentation available, we went through the entire lesson and edited all the text, added code samples, and made changes where necessary to get the manuscript where we wanted it to be.
Tools used 🔧
- Descript for transcribing lesson audio.
Source code
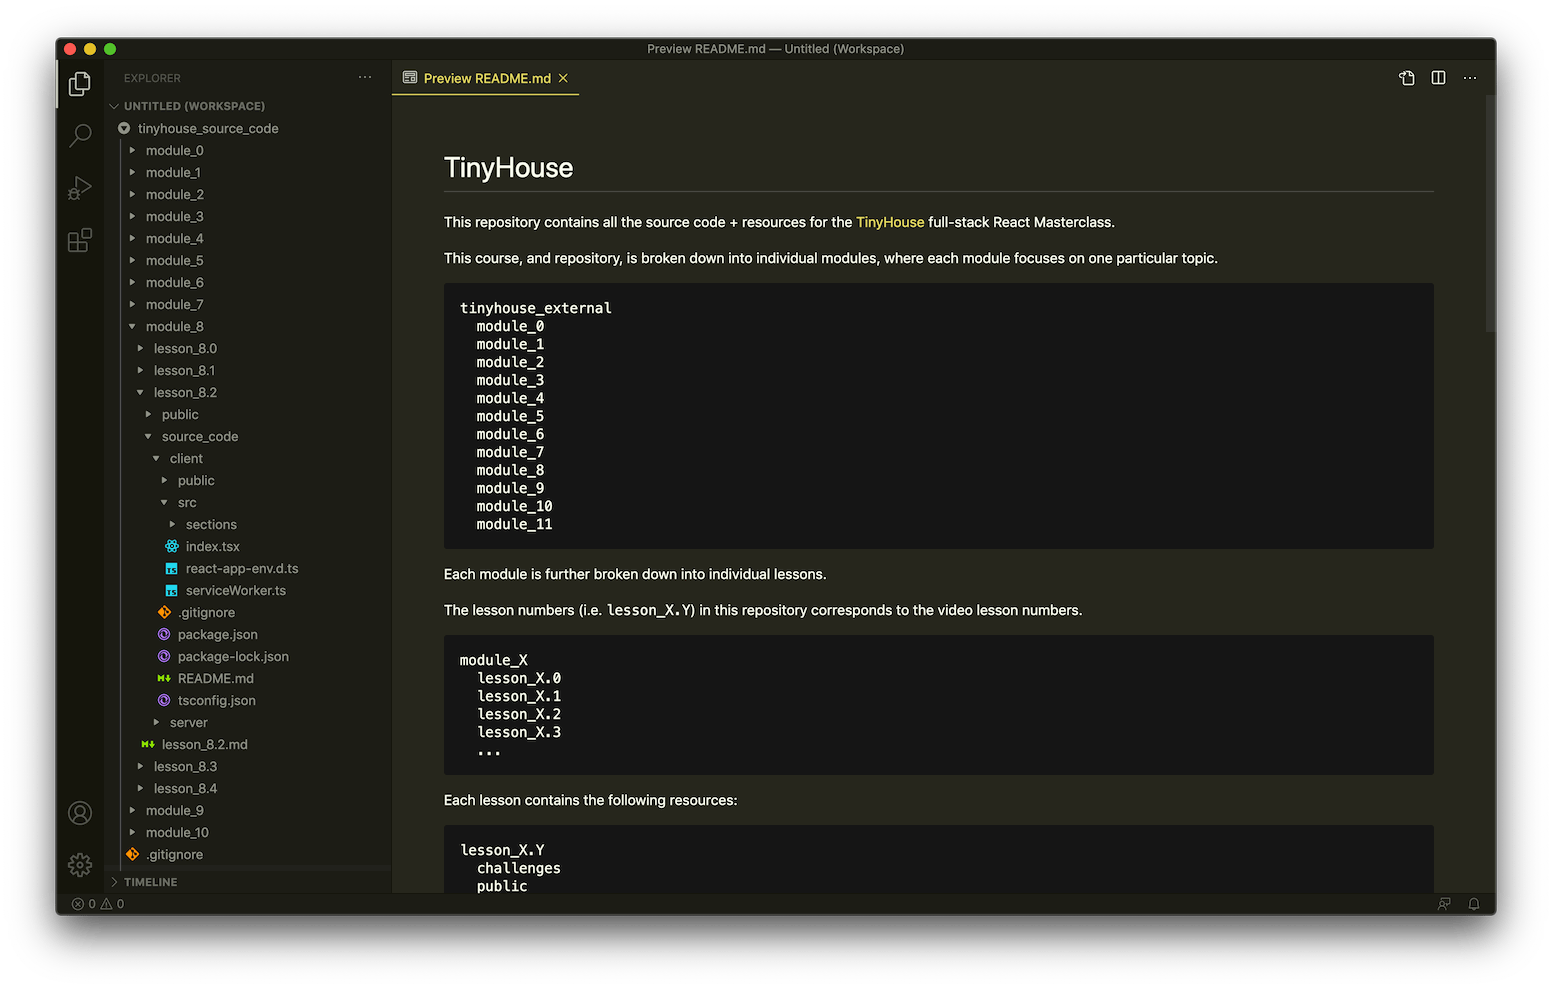
We wanted to provide all the source code we prepared in the course to students who enroll. This was fairly straightforward since we simply provided a project folder to download which contained the source code for every lesson.
Supplementary learning material
We provided additional supplementary learning material wherever we thought it would help benefit students. These include:
Lecture Slides
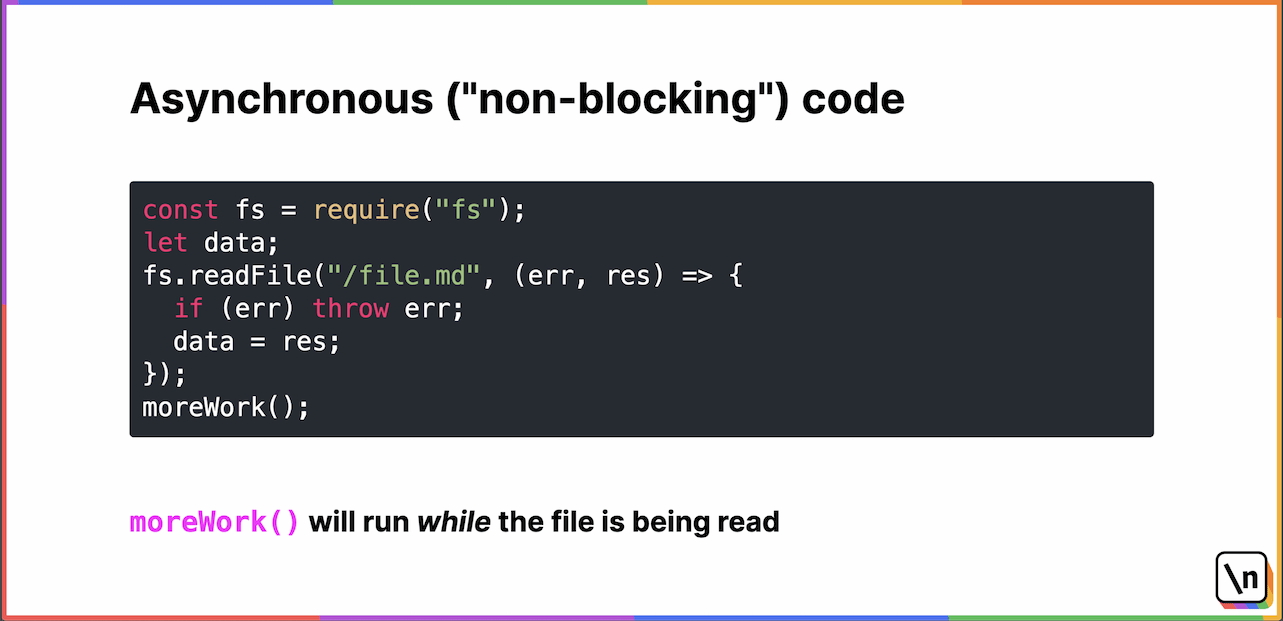
We presented and shared lecture slides to students when first introducing a brand new technology or concept. These slides were prepared as React MDX-based presentation decks with the help of MDX Deck.
Multiple-choice questions
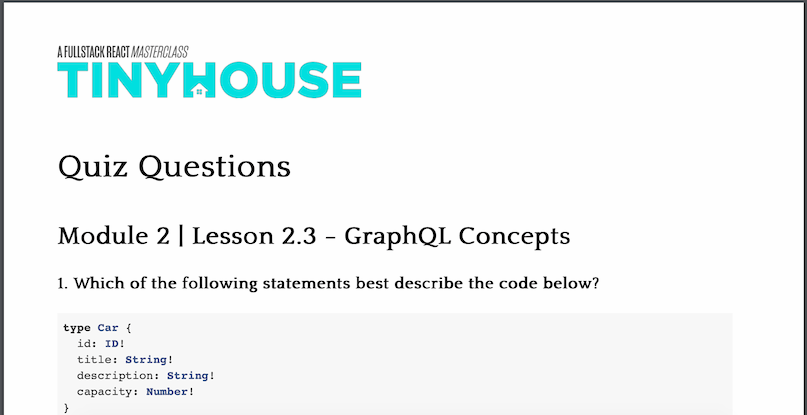
In various lessons/modules, we shared multiple-choice questions (and answers) were we felt students can quickly test themselves with concepts we cover in the lessons. We prepared these questions with Markdown and shared them with students as PDF documents.
Cheat sheets
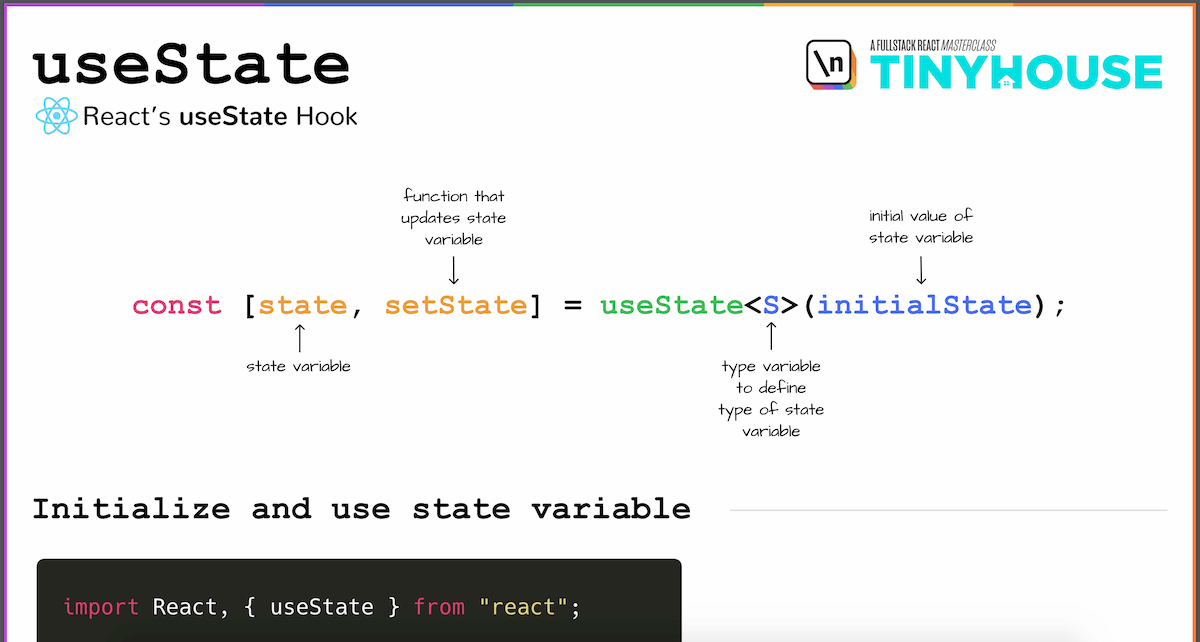
In areas where we thought it would help summarize a set of examples together, we prepared cheat sheets to share with students. These cheat sheets were created on our own with the help of the Figma design tool.
Discord community

The moment students enroll in the course, they’re able to join a Discord community where they’re able to ask questions and get support from other students, Jing, and myself.
Things that worked for us
Ensuring our audio/video/application code was as robust as possible before hitting the record button. Similarly, we spent as much time as possible building the app and fine-tuning all the code that we wrote before recording anything. This was great since this helped us avoid the need to re-record/re-do certain parts of the course which would take time.
Launching Part I of the course publicly before completing Part II. This helped us gain user feedback as early as possible while still providing students with enough content for them to begin with.
Launching bonus modules. We’ve received feedback from students asking for important topics that we haven’t covered in the course. Two of the most common requests were unit testing and the use of a SQL database as opposed to MongoDB. With the course complete, we then spent a little time working on some of this bonus material that isn’t as detailed as the core course material but still covered the topics student would find helpful. Outside of any other updates to the course, we’ve released a module on Unit Testing (Client) and a module covering PostgreSQL/TypeORM.
Launching the course with Newline. We spent no time whatsoever concerning ourselves with finding a market for this course since we worked with Newline to produce and release the course. There are pros/cons to releasing a product on someone’s own or using a platform like Newline but having worked with the Newline team before, I was keen on collaborating with them.
Things that did not work for us
Spending a little too much time concerning over details that no one would pay any attention to. Though being very detailed helped in ensuring the quality of what we were producing, there were many minute details that we spent too much time concerning over where we could’ve probably communicated with a few potential students to help guide us here.
Working too hard on this at times. This point mostly comes from me (not necessarily Jing) since I tend to go overboard at times at trying to get something done as fast as possible. I could’ve taken a slightly more gradual approach in building the course which may have delayed the release date out which wouldn’t have been an issue.
Not marketing the course after release. As mentioned before, we’ve spent practically zero time marketing the course and have spent all our effort in producing the course, making updates, and releasing bonus modules. However, this is something we’re hoping to begin with now!
Conclusion and revenue made
All in all, working on this project was incredibly fun. Jing and I have committed a lot of time into creating TinyHouse and we learned so much.
In terms of the numbers/revenue we’ve made so far, here are some stats:
- We released Part I of the course in Nov 2019.
- We released Part II of the course in Feb 2020.
- As of the time of the launch of this blog post (Aug 2020):
- We’ve had over 700 students enroll in the course.
- We’ve grossed over 160K USD in overall revenue.
Note: Revenue highlighted here represents overall revenue made which is then split to cover any costs/future marketing. Jing and I then receive a percentage of the remaining as royalties.
We’re fairly happy with the results given that Jing and I don’t have a huge following, we haven’t spent a lot of time marketing the course externally, and that we feel there’s still a lot of room for more growth. More importantly, the feedback we’ve received from students overall has been great and nothing trumps seeing so many people learn and receive value from what we’ve created.
Questions/thoughts? Find me at @djirdehh!


